You've got Raphinha and Vini Jr. up top, Putellas behind them, and somehow the ball keeps going sideways. The formation looks stacked on paper. In game, it feels like all three are waiting for someone else to make the first move.
The issue usually isn't talent. It's timing. Raphinha as a False 9, Vini Jr. as an Advanced Forward, and Putellas as a Shadow Striker are three different jobs that only work when they happen in the right order. Get that order wrong, and you've got a front line that shares the same five yards of grass and threatens nothing.
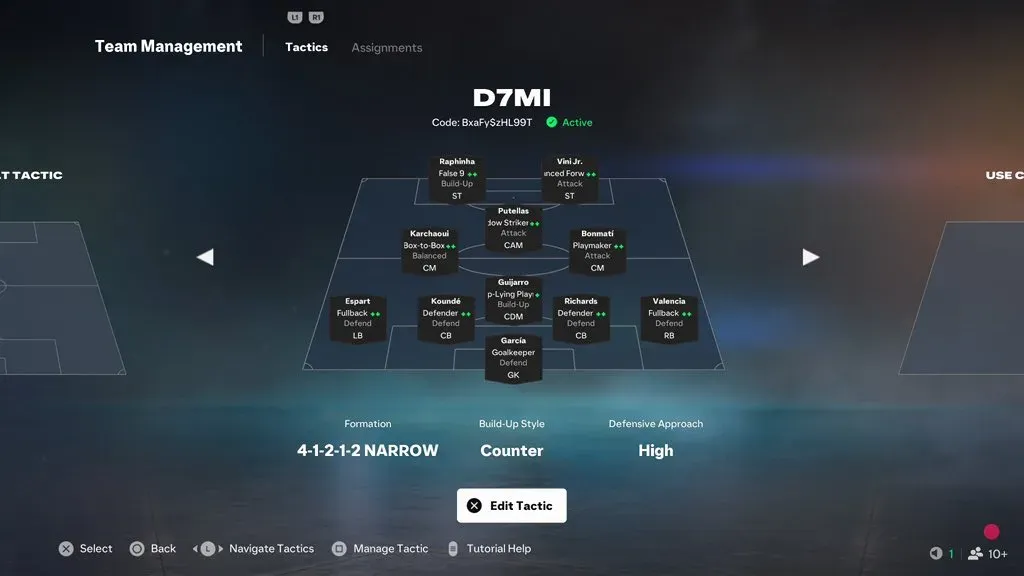
The setup shown uses tactic code BxaFy$zHL99T. Rather than focusing on every tactical setting, this guide looks at how its front three work together to create scoring opportunities.
Raphinha Drops to Create the Hole, Not to Score
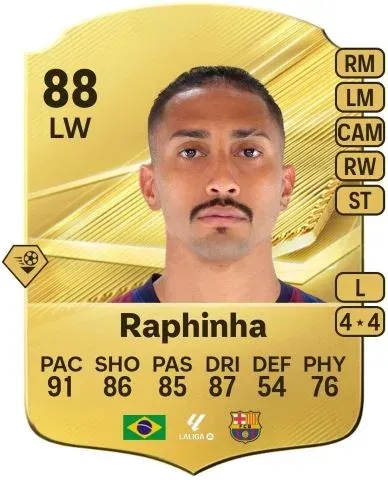
Raphinha's primary job as a False 9 isn't to lead the scoring. It's to give your attack a connection point between midfield and the front line while forcing the opposing defense to make a decision.
When he checks toward midfield, he becomes a passing option between the lines. If a center-back steps forward to track him, the defensive line loses its flat shape. A gap opens where that defender used to be. The key is reading whether that gap actually opens before you force the pass into Raphinha's feet. If the center-back stays home, the drop was still useful as a decoy — but the next pass should not be the one into the decoy's feet.
Don't treat Raphinha's drop as a guaranteed space generator. Treat it as a question you're asking the defense. Their answer decides your next move.
Vini Jr. Attacks the Vacated Lane, Not the Ball
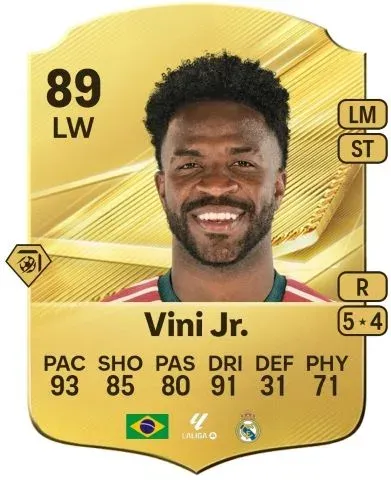
Vini Jr.'s Advanced Forward role is simple: attack the space behind the center-backs. His pace and acceleration make him a natural fit for this job, but the key is knowing when to run rather than dropping deep to help the build-up.
The trigger is the moment Raphinha pulls a center-back out of the line. Vini Jr. should already be moving into that channel. If he also checks toward the ball, you've got two strikers occupying the same zone and nobody threatening the goal.
One striker connects. The other runs. Raphinha draws the defender. Vini Jr. punishes the gap. When both connect, the attack dies. When both run, there's no link.
Putellas Arrives Late as the Second Wave
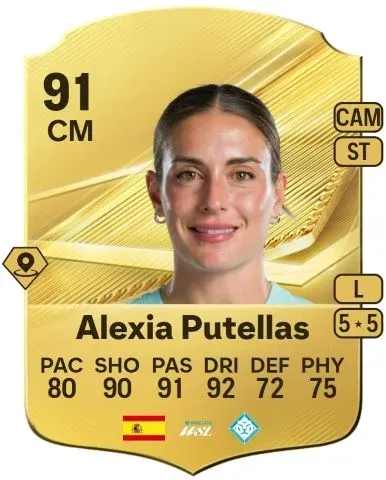
Putellas at CAM is not a support player in this setup. As a Shadow Striker, she is the late runner who attacks the box after the center-backs have already committed to Raphinha and Vini Jr.
The sequence starts with Raphinha dropping and potentially drawing a center-back forward. Vini Jr. then looks to attack the space behind the defensive line, while the remaining defenders adjust to cover the run. If those defenders shift toward Vini Jr.'s run, Putellas can attack the space around the top of the box. She's not the first look. She's the option your opponent may overlook.
The goal is to have Putellas arrive in the box as a second wave rather than crowding the strikers too early. Let the front two occupy the defensive line first, then look for Putellas arriving around the edge of the box.
When the Rotation Breaks: Read the Defense, Don't Force the Pattern
The center-back refuses to follow Raphinha. Some players just park the defender. Fine. Don't force the pass into Raphinha's feet. Use his drop as a decoy, look for space between the defensive and midfield lines, or switch the ball through Bonmatí to move the block before attacking again. If the center-back won't leave, the gap behind him isn't there — so attack a different gap.
The center is packed. If both center-backs and a CDM are sitting in the middle, Raphinha has nowhere to drop into. That's when Karchaoui's Box-to-Box runs can help stretch the midfield, while a manually advanced full-back provides an alternative passing outlet. You don't need to force everything through the middle; a quick switch can move the defensive block and create room for the next attacking sequence.
Vini Jr.'s channel gets tracked. If the opponent's CDM or full-back is cheating toward Vini Jr.'s run, Putellas becomes the release valve. A quick pass into her feet around the top of the box can draw a defender out, creating another opening for the strikers to attack.
Don't Lose Guijarro's Cover Chasing the Perfect Attack
The most common way this setup bleeds goals is not the opponent's brilliance — it's your own midfield getting sucked too high while the front three rotate.
When Raphinha drops, he's already doing some of the midfield's connecting work. You don't need both Karchaoui and Bonmatí pushing into the final third at the same time. Guijarro's Deep-Lying Playmaker — Build-Up role provides a deeper passing option behind the rotation, so you retain midfield cover if possession breaks down.
This setup uses a High defensive approach, so you need to be aware of the space behind your defensive line. Guijarro provides a deeper midfield option, but don't rely on his role alone to stop counterattacks. Avoid sending both central midfielders forward at the same time, and be ready to track runs manually when possession is lost.
The Bottom Line
This isn't a tactic you load once and forget. It's a timing sequence: Drop, Run, Arrive. Raphinha makes the hole. Vini Jr. attacks it. Putellas punishes the panic. When one piece stops moving, don't force the same pattern harder — change which layer you attack through.
The player behind the controller decides whether the rotation cooks or stalls. Read the center-back's answer, protect Guijarro's zone, and let the front three ask the question.
Looking for a different 4-1-2-1-2 Narrow approach? Check out our FC 27 central overload counter guide for a setup built around compact defending and quick central attacks.